Deploy an ERC20 token to Celo
You can easily deploy token contracts that use the ERC20, ERC721, or ERC1155 token standard to Celo without having to write any code.
In this tutorial, we will go over how to deploy an ERC20 token contract. The process is very similar for deploying other tokens as well.
- Install Metamask.
- Add the Celo network to Metamask. We suggest adding the Alfajores testnet to Metamask as well, so you can test contract deployments before deploying to mainnet.
- Add a small amount of CELO to your Metamask account. In this example, we will deploy to the Alfajores testnet, so we need Alfajores CELO, which you can get from the faucet here.
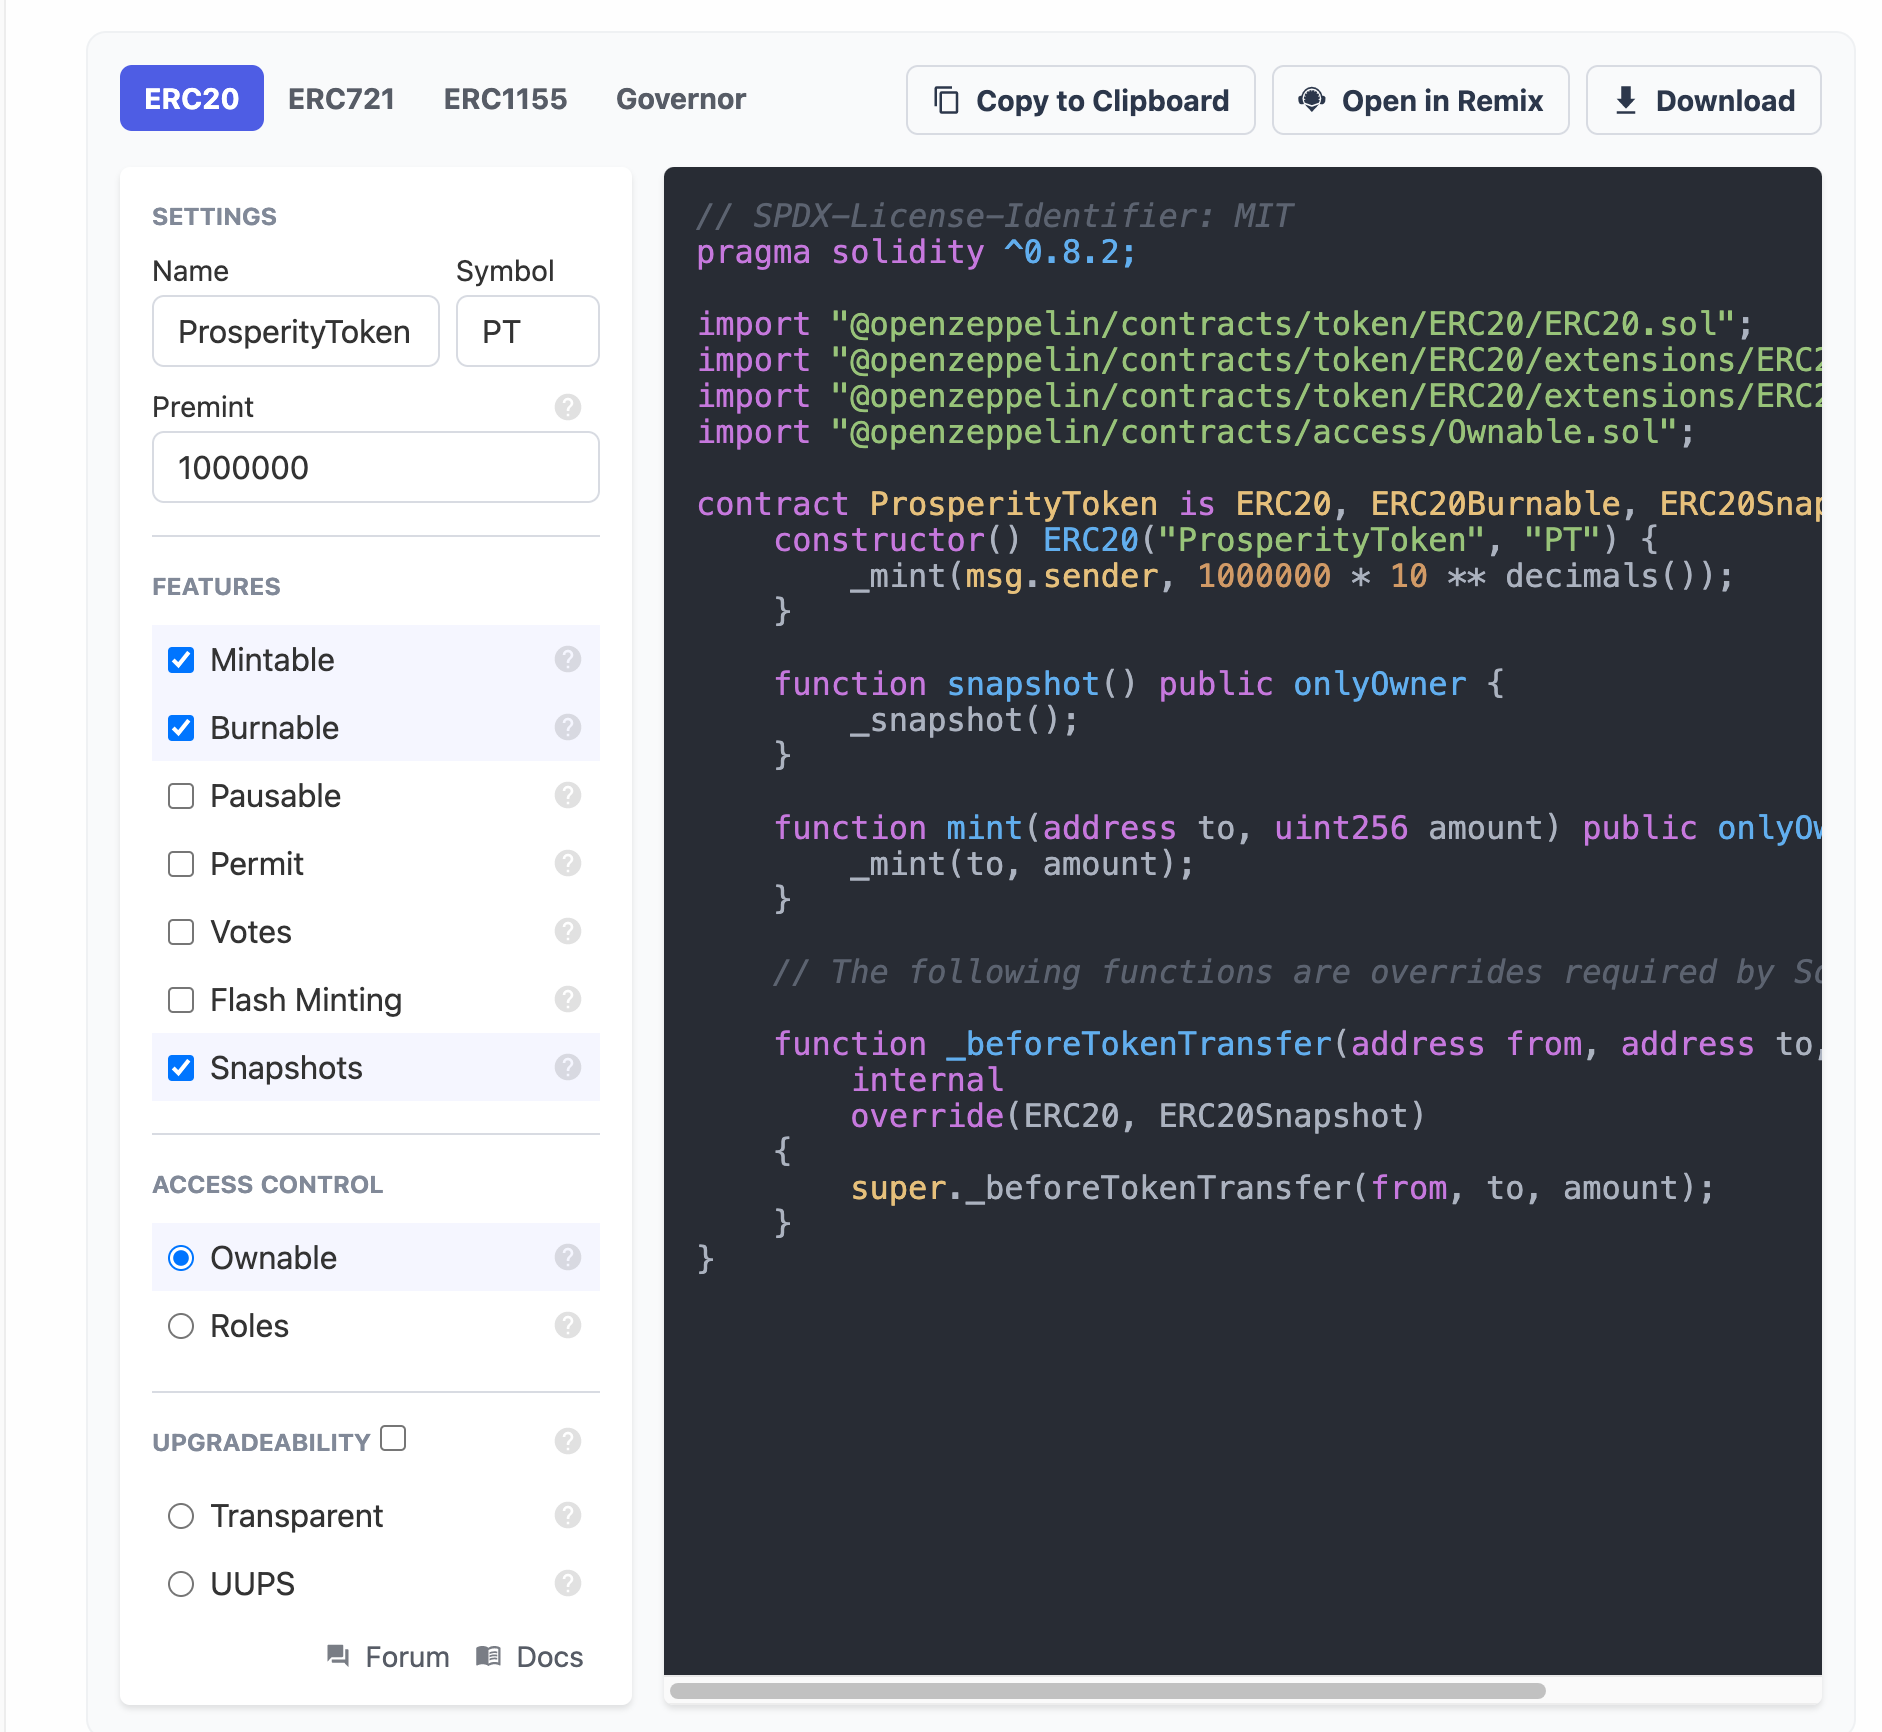
- Go to the Open Zeppelin Contracts Wizard.
- Select
ERC20as the type of contract that you would like to deploy.
- Name your token. We are calling our token “ProsperityToken” in this example.
- Select the features for your token. We are making ProsperityToken mintable, burnable and enabling snapshots, so the token may be used for governance. We are also making the contract Ownable, so the deployer of the contract can mint new tokens and distribute them as desired. Ideally, the owner account will be a multi-signature contract, so no single person has control over this token contract.
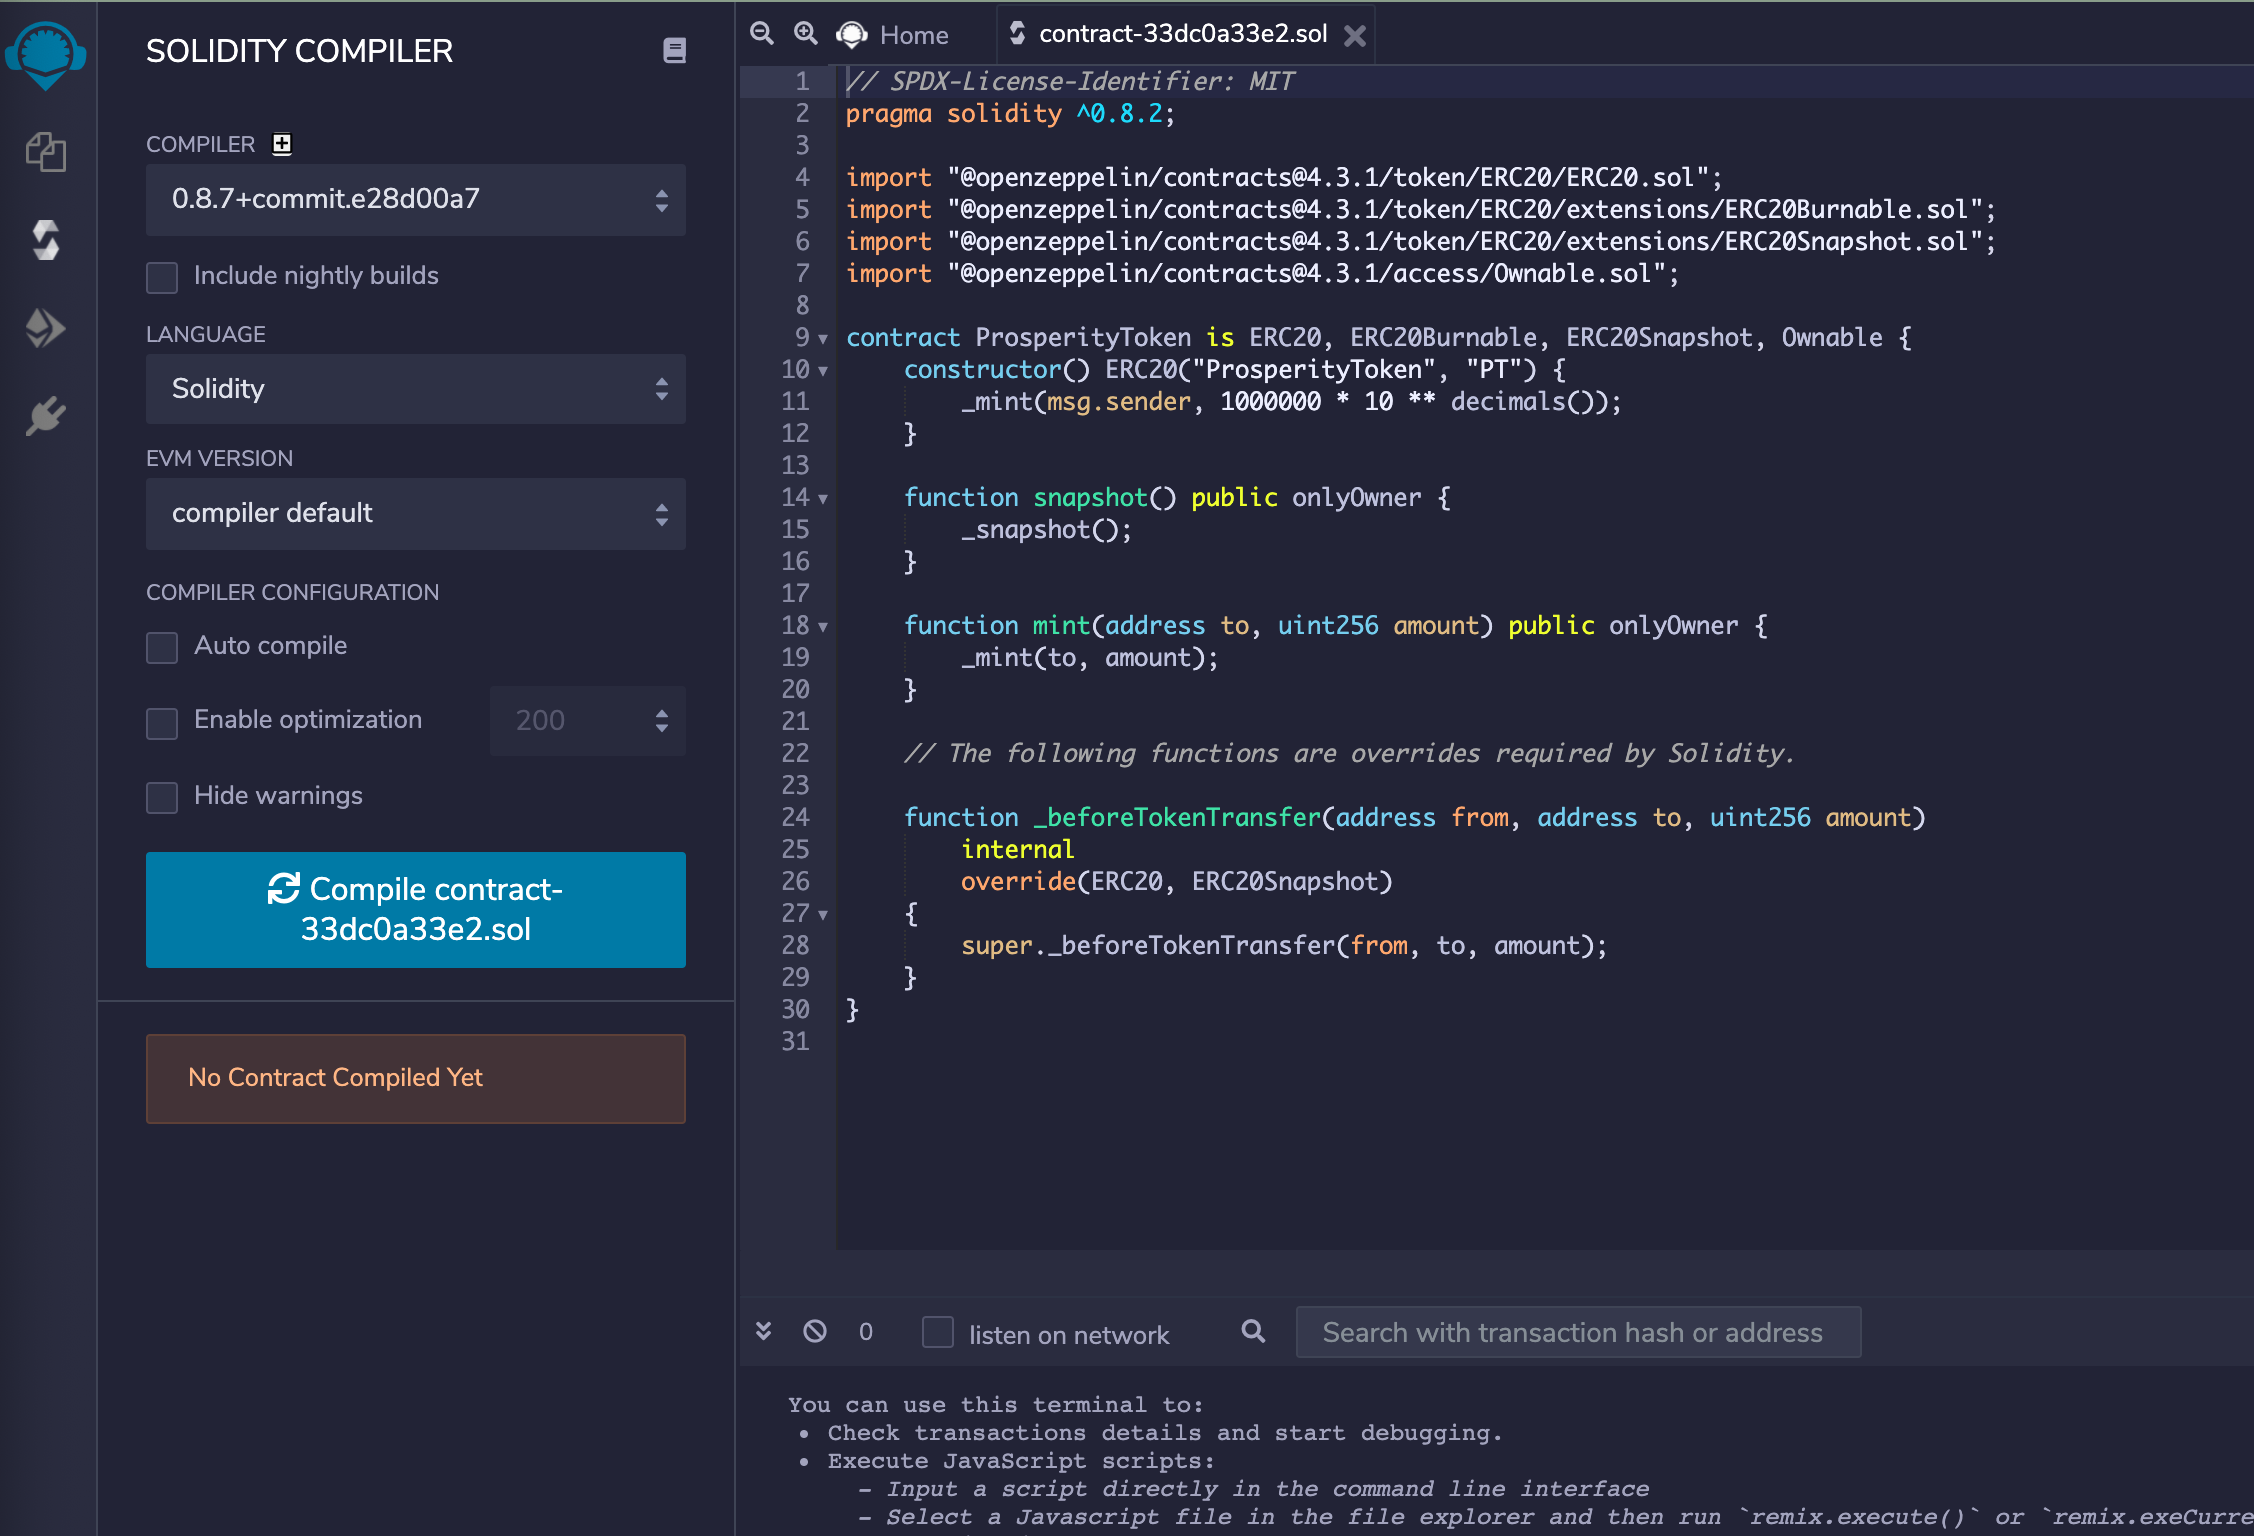
- Open your contract in Remix by clicking “Open in Remix”. Remix will pop open with the contract code already filled in.
- Click the big blue button that says “Compile contract-xxxxx.sol”. The contract should compile without error.
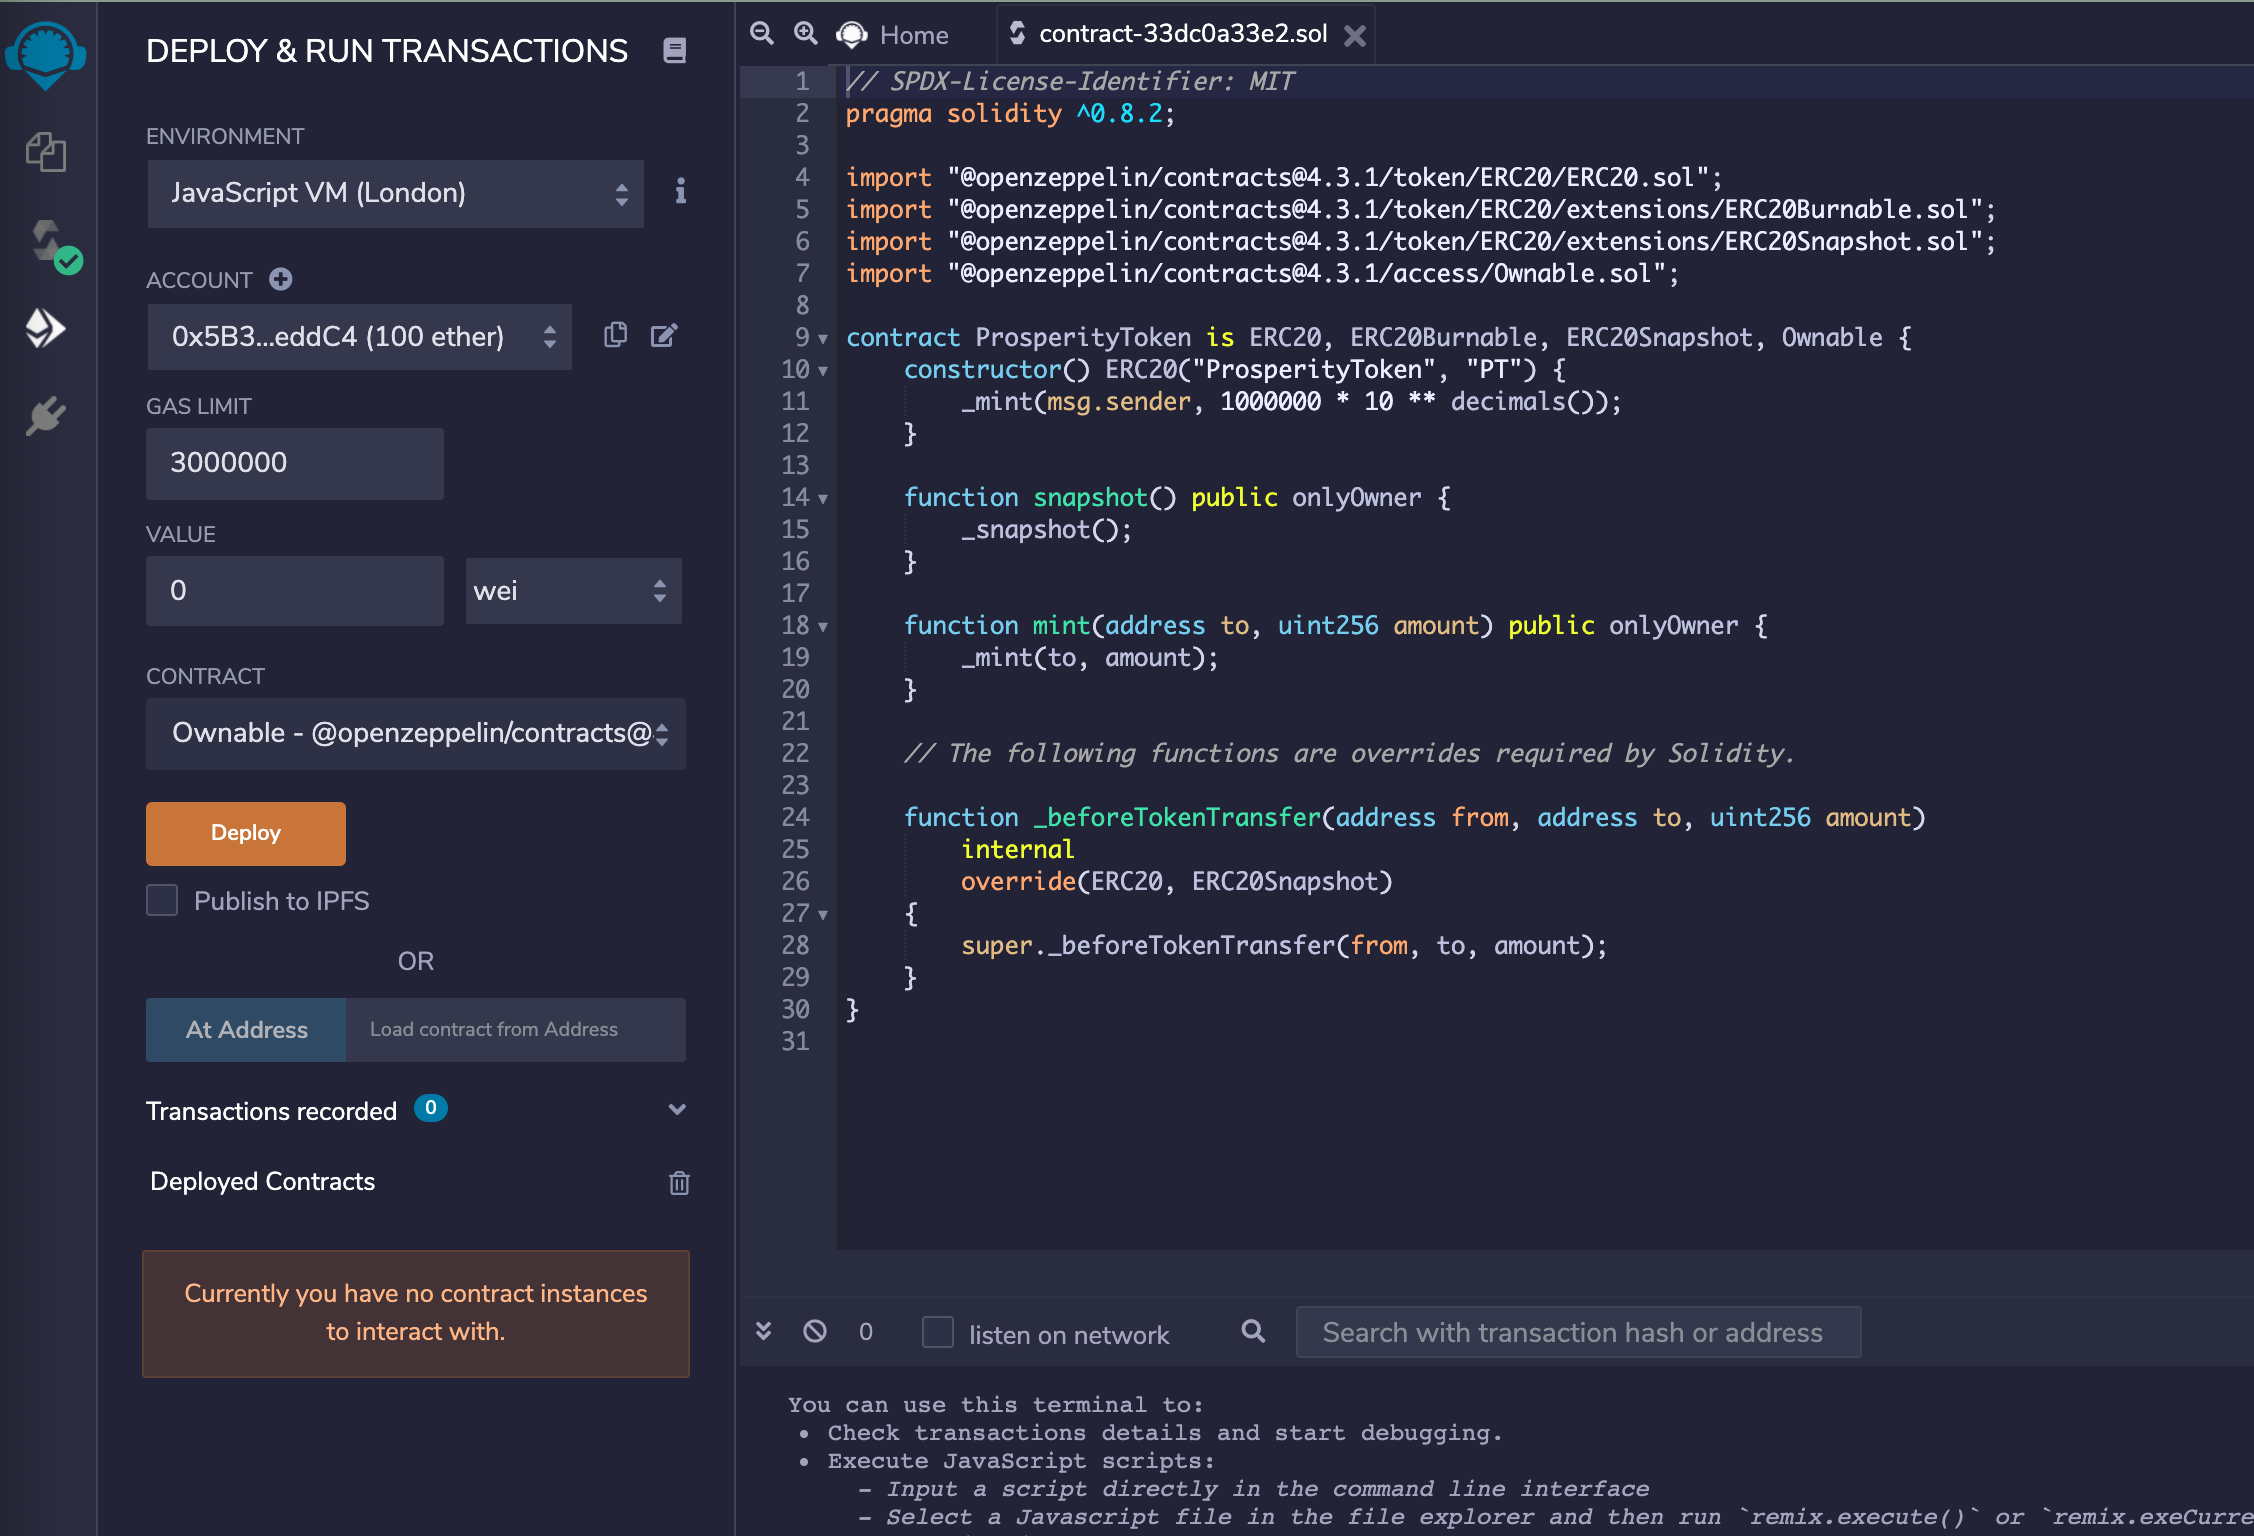
- Click the Ethereum logo in the left sidebar. This will bring up a new interface for deploying the contract.
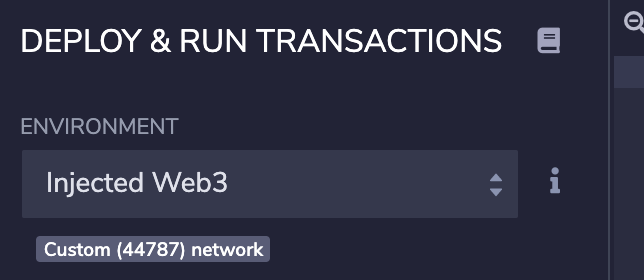
- In the “Environment” section on the top left, select “Injected Web3”. This will connect Remix to Metamask. Now clicking the “deploy” button will deploy the contracts to whichever network Metamask is connected to. You should see a small textbox indicating that Remix is connected to a custom network. The Alfajores network id is 44787.
- In the Contract dropdown, select the contract that you want to deploy. In this example, it is called ProsperityToken.
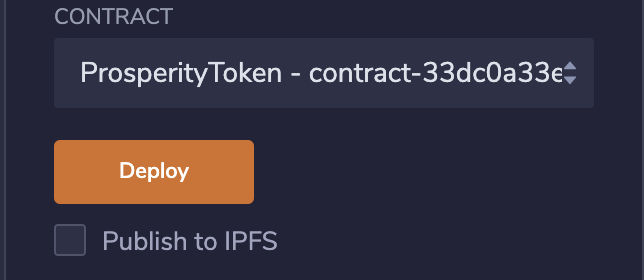
- Click Deploy. Metamask should pop open.
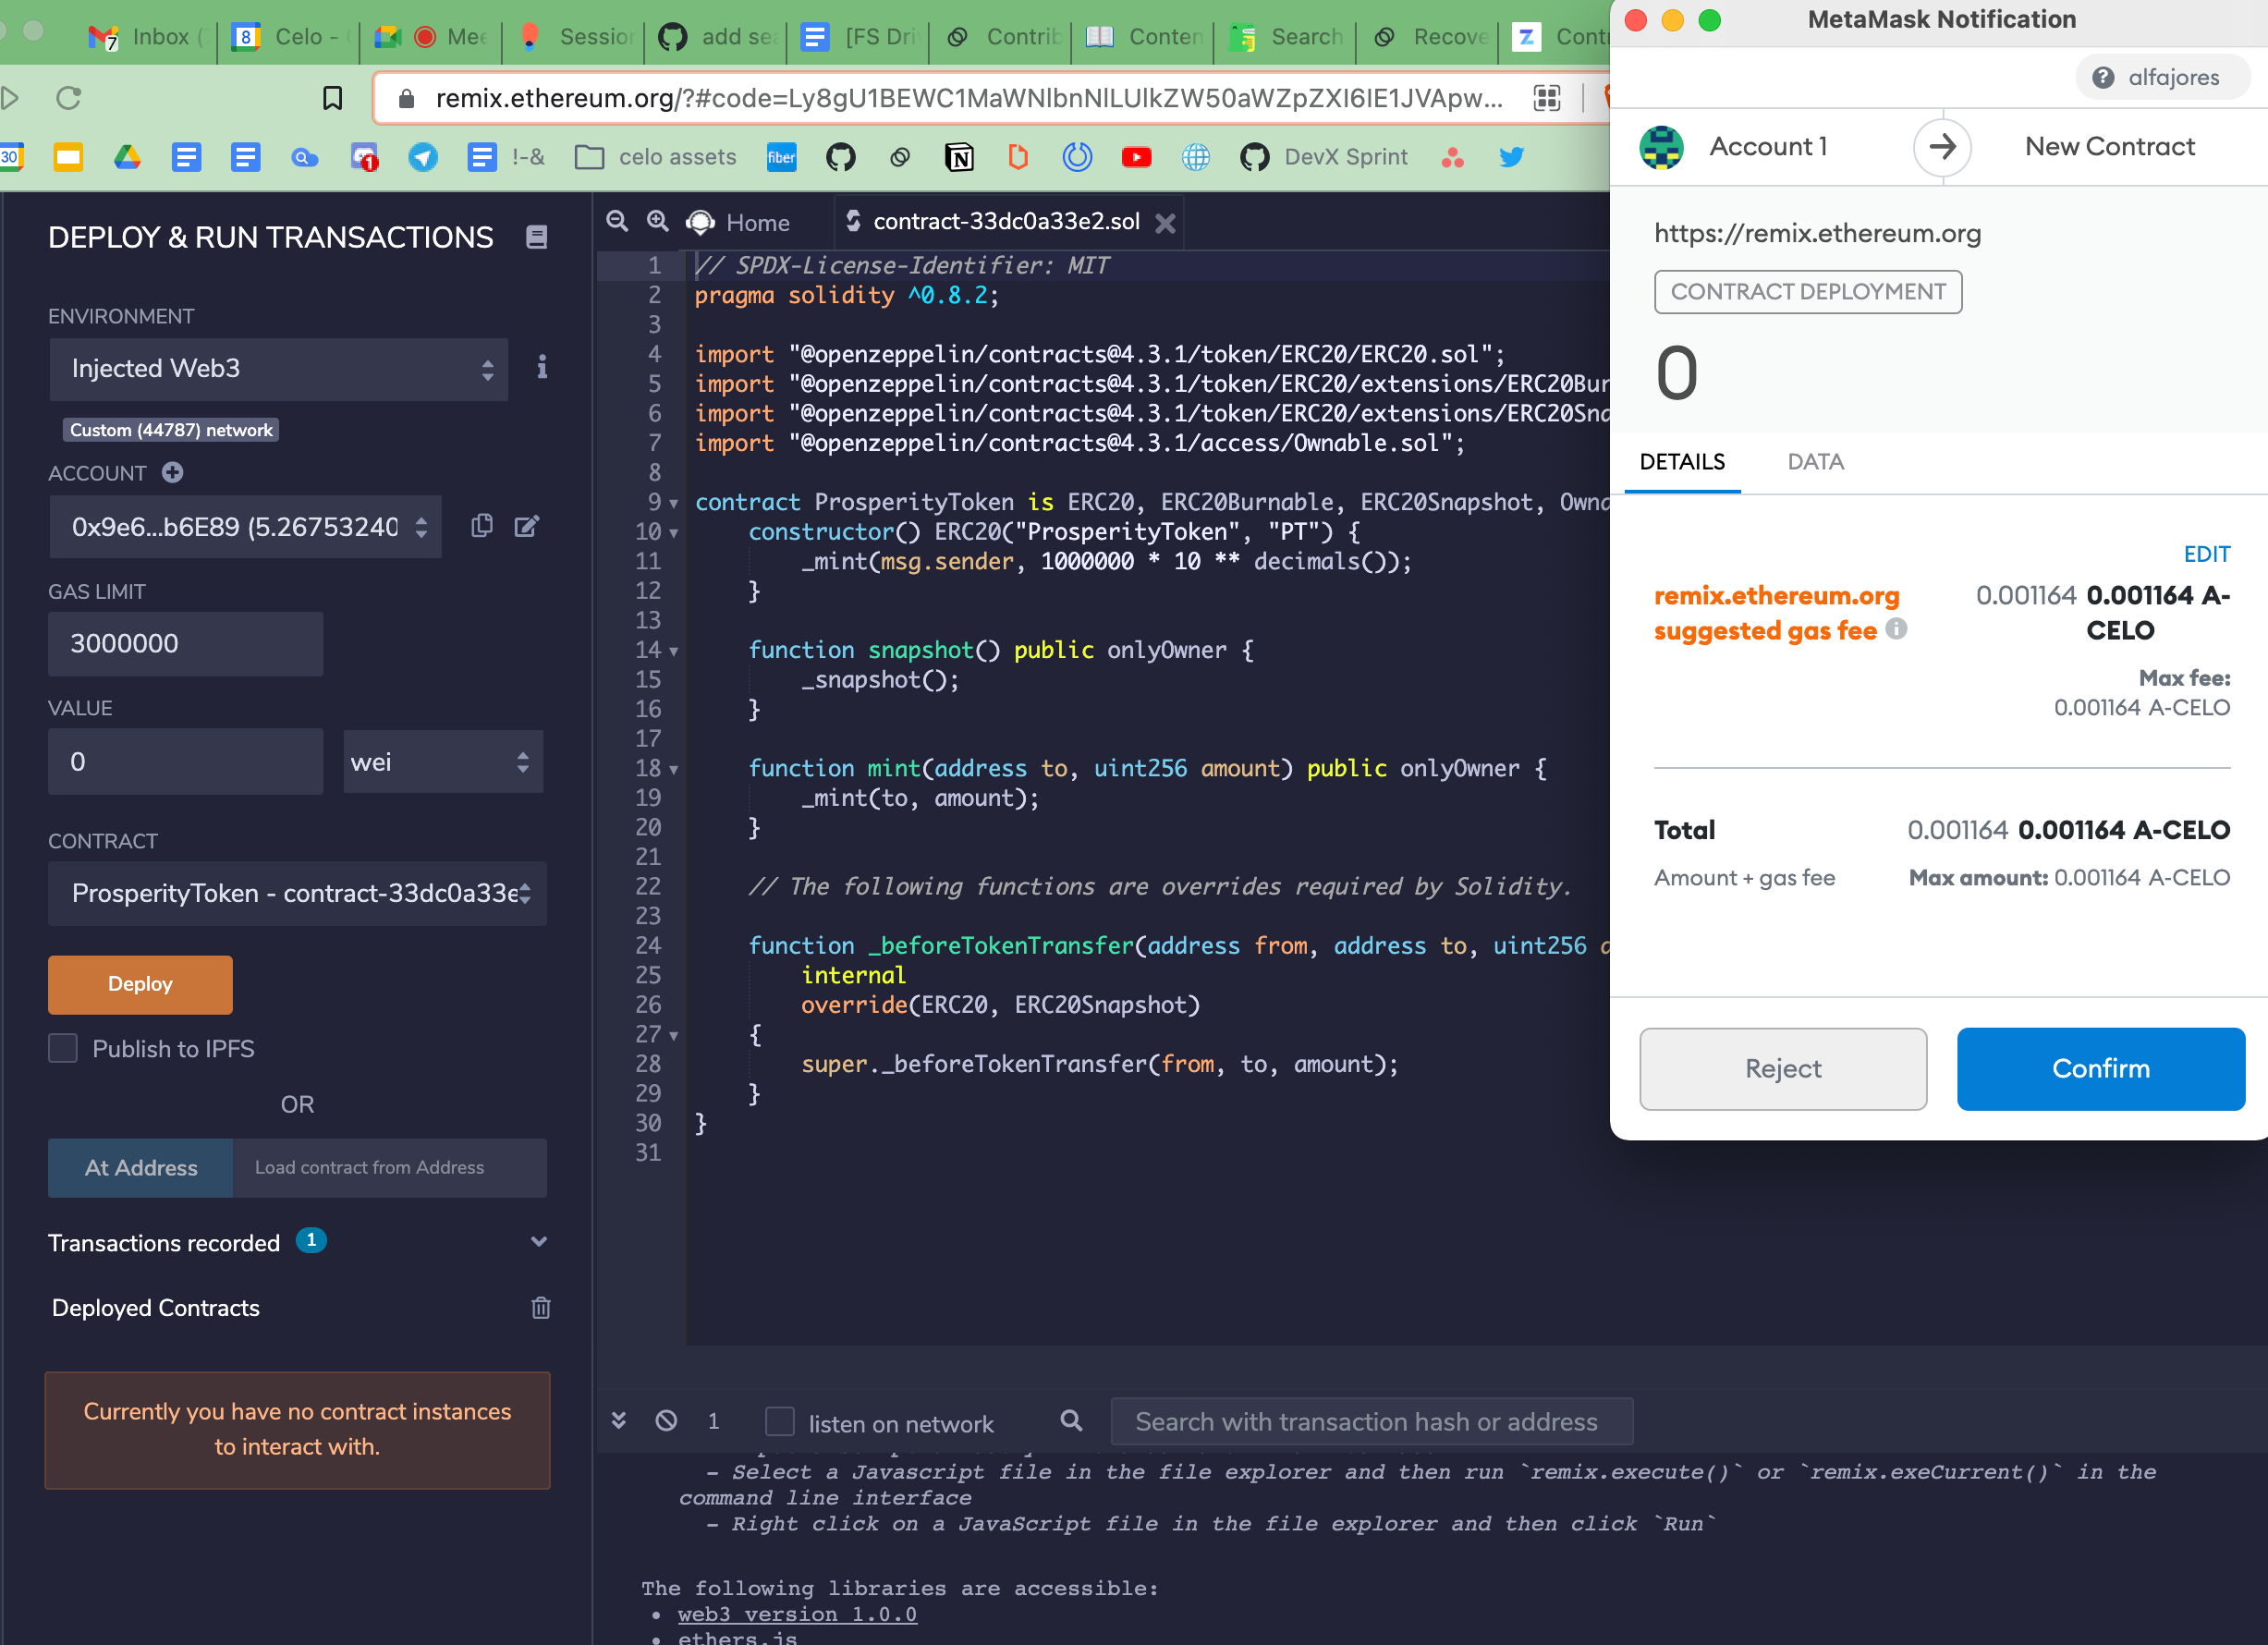
- Click Confirm. Once the transaction confirms (less than 5 seconds), a contract interface will appear in the bottom left, and transaction details will appear in the console at the bottom.
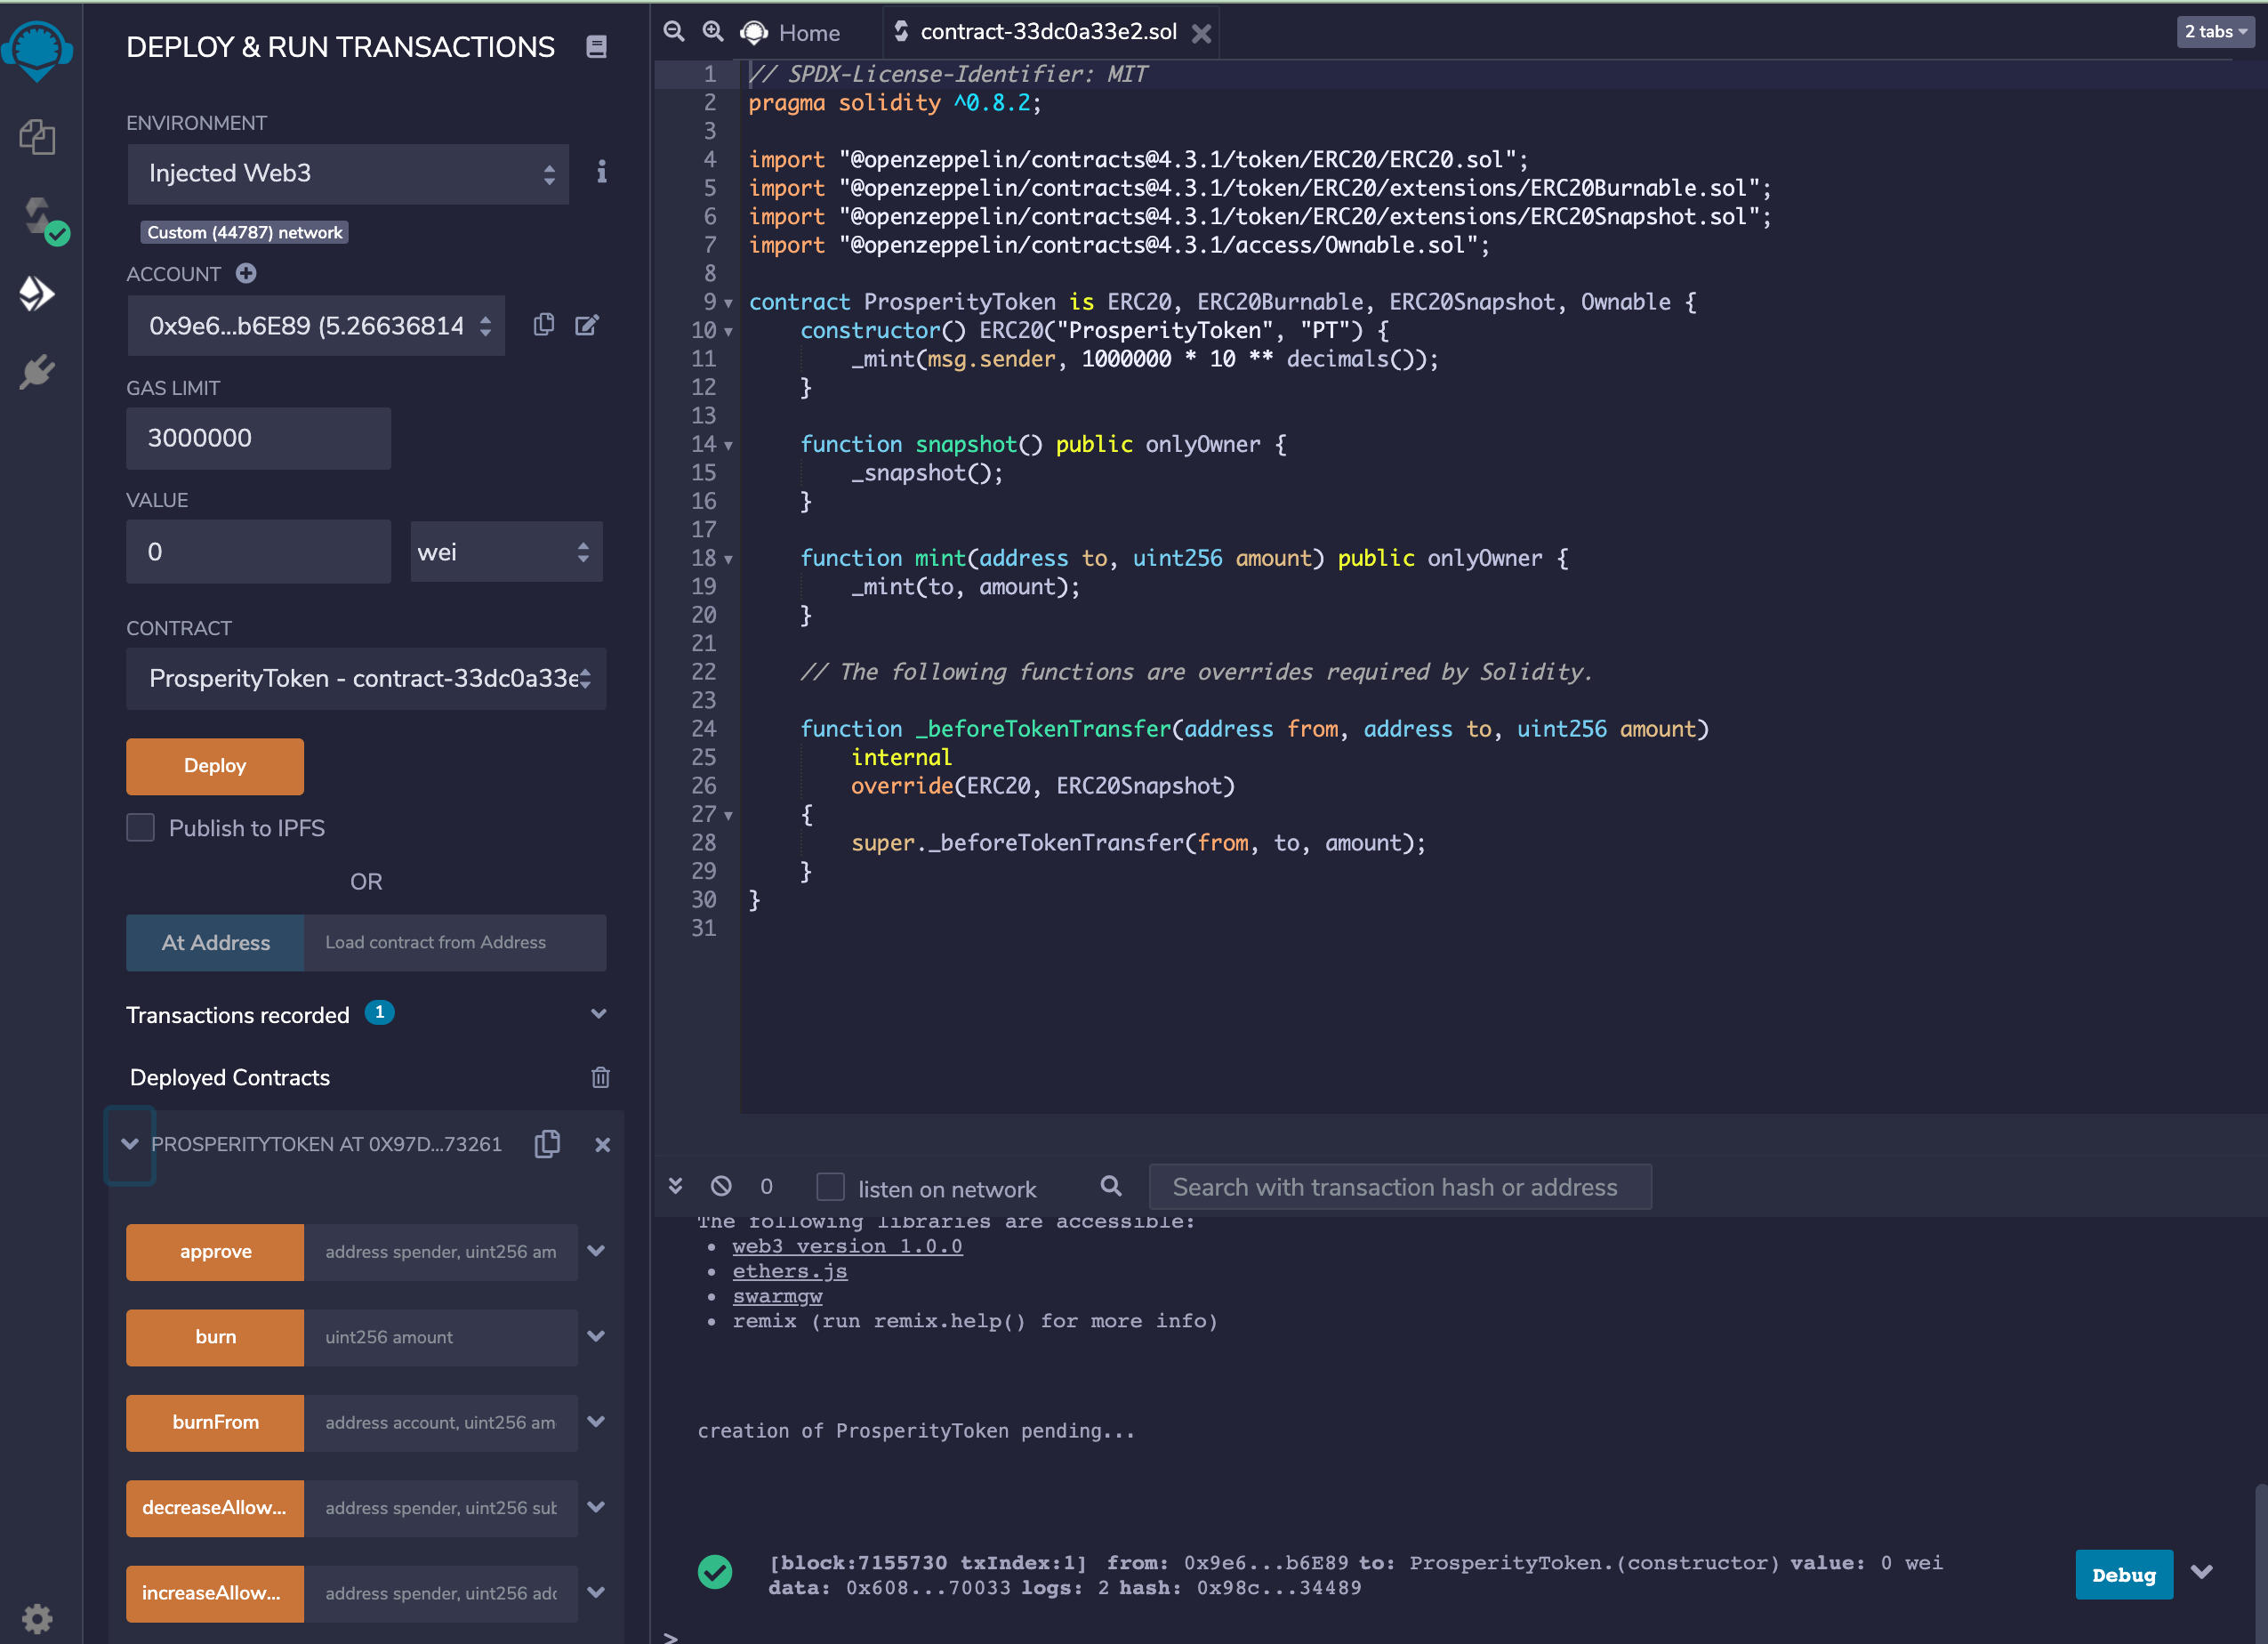
That’s it! We now have ProsperityToken deployed on Alfajores with the Metamask account as the contract owner.
You can see the contract information on the Alfajores block explorer. Copy and paste the contract address or deployment transaction hash from the console output and paste it into the block explorer search bar or look up the deployment transaction info in the Metamask activity.
You can find my example contract here.
Let me know what you end up building and reach out if you have any questions, @critesjosh_ on Twitter or joshc#0001 on Discord. Join the Celo discord at https://chat.celo.org.